Maintaining your home’s functionality is crucial for a comfortable living environment. However, one often overlooked component is the springs that are part of various mechanisms around your house. From garage doors to window blinds, springs play a vital role in ensuring everything works smoothly. In this blog post, we’ll walk you through some practical DIY tips for checking and changing worn-out springs at home.
Whether you’re a seasoned DIY enthusiast or a beginner, you’ll find valuable advice that will help you keep your home in top shape.
Why Spring Maintenance is Essential
Springs are often hidden within the mechanisms they support, making them easy to forget. However, neglecting them can lead to bigger problems. For example, a broken garage door spring can render the door inoperable, posing a security risk. Similarly, worn-out window blind springs can make it difficult to control light and privacy in your home. Regular maintenance not only extends the lifespan of these components but also ensures your home remains safe and functional.
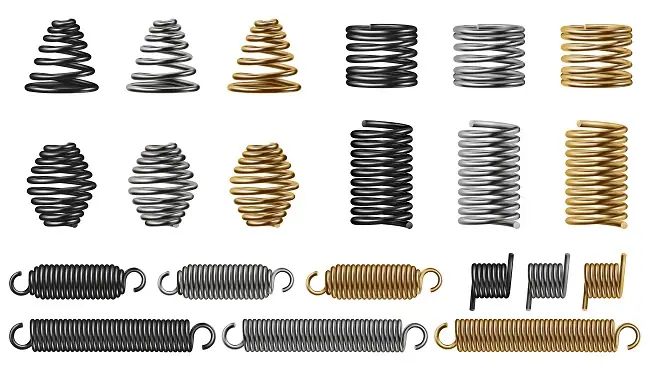
Identifying Worn-Out Springs
Before you can change a spring, you need to know what to look for. Worn-out springs often display visible signs of wear and tear, such as rust, gaps between coils, or loss of tension. Listen for unusual noises like squeaking or grinding, which can also indicate a problem. If you’re unsure, consult the user manual for the specific mechanism you’re inspecting.
Tools You’ll Need for the Job
Having the right tools is half the battle. Here’s a list of essential tools you’ll need for most spring maintenance tasks:
- Safety glasses and gloves
- A set of pliers
- A wrench set
- A screwdriver set
- Replacement springs (make sure they match the specifications of the worn-out ones)
Safety First
Safety should always be your top priority when dealing with springs. These components are often under high tension and can cause serious injury if not handled properly. Always wear safety glasses and gloves. If you’re working on a garage door, ensure it is in the down position and disconnected from the opener to avoid accidental activation.
Step-by-Step Guide to Checking Springs
Visual Inspection:
Start by visually inspecting the springs for any obvious signs of wear and tear.
Manual Test:
Use your hands to test the tension of the springs. They should offer resistance but not be overly stiff or loose.
Lubrication Check:
Springs should be well-lubricated to function smoothly. Apply a silicone-based lubricant if you notice dryness.
How to Change Garage Door Springs
Changing garage door springs can be a daunting task, but it’s doable with careful attention to detail.
Release Tension:
Use a winding bar to carefully release the tension in the existing spring.
Remove Old Springs:
Use pliers and a wrench to remove the old springs from their brackets.
Install New Springs:
Attach the new springs to the brackets, ensuring they are securely fastened.
Tension the Springs:
Use the winding bar to apply tension to the new springs, following the manufacturer’s guidelines. Don’t forget that proper maintenance can save you from the hassle and cost of a professional garage door repair in Jacksonville .
Changing Window Blind Springs
Window blinds might seem less critical, but worn-out springs can make daily operation frustrating.
Remove Blinds:
Carefully take down the window blinds.
Inspect and Remove Springs:
Locate the springs within the mechanism and remove them.
Install New Springs:
Insert the new springs and reassemble the blinds.
Test the Mechanism:
Reinstall the blinds and test to ensure smooth operation.
Maintaining Other Household Springs
Springs are ubiquitous in household items, from reclining chairs to screen doors. Regularly inspect and maintain these springs to ensure everything functions correctly. A little preventive maintenance can go a long way in extending the life of your household items.
Troubleshooting Common Issues
Sometimes, despite your best efforts, things go wrong. Here are some common issues and how to fix them:
Spring Won’t Hold Tension:
This usually means the spring is the wrong type or size. Double-check the specifications.
Squeaking Noises:
Apply a silicone-based lubricant to reduce friction.
Difficulty in Installation:
Consult the user manual or seek online tutorials for additional guidance.
When to Call a Professional
While DIY maintenance can save money, some tasks are best left to professionals. If you’re dealing with extremely high-tension springs or complex mechanisms, don’t hesitate to call in an expert. Your safety is paramount.
Environmental Impact of Proper Spring Disposal
Old springs shouldn’t just be thrown in the trash. They are often made of recyclable materials. Check your local recycling guidelines to dispose of them properly. This not only helps the environment but also ensures you’re adhering to local regulations.
Conclusion
Regularly checking and changing worn-out springs in your home can save you time, money, and headaches. By following these DIY tips, you’ll keep your home safe and functional. Remember, a well-maintained home is a happy home. If you need further assistance, don’t hesitate to consult a professional.